Olympunch
Olympunch: Week 04
Hello and Welcome to this weeks Dev Log! Today we want to showcase some new stuff we have been working on throughout the week!
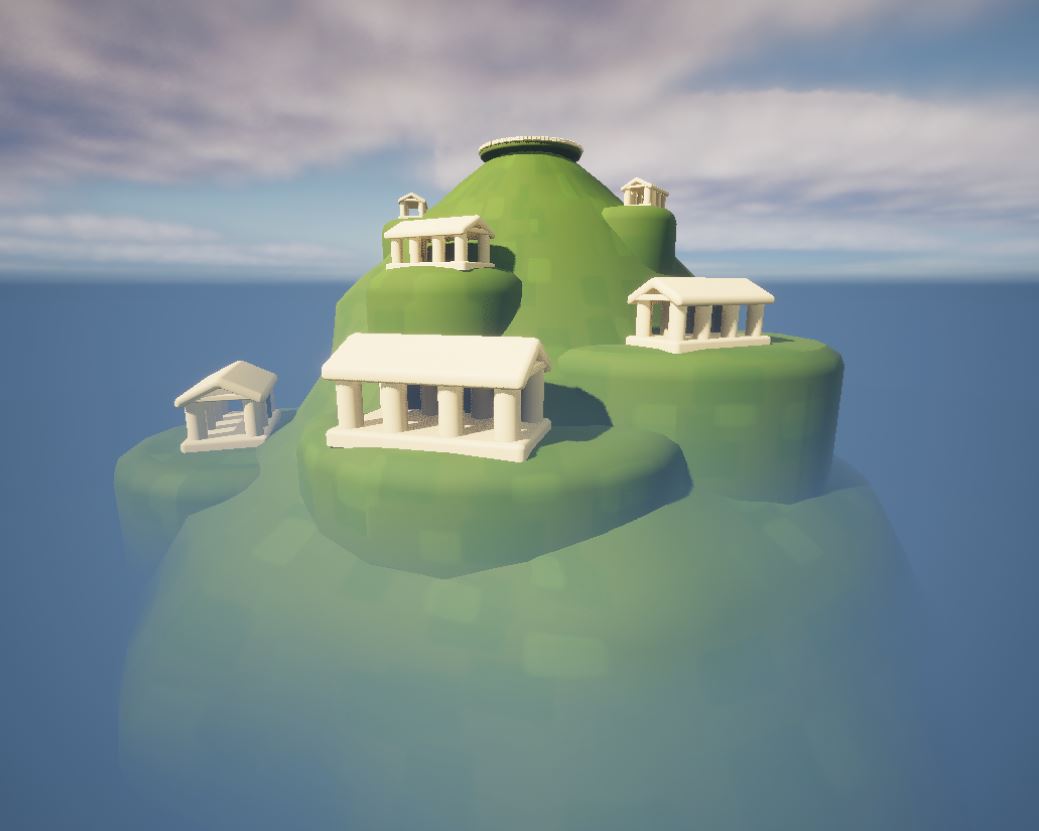
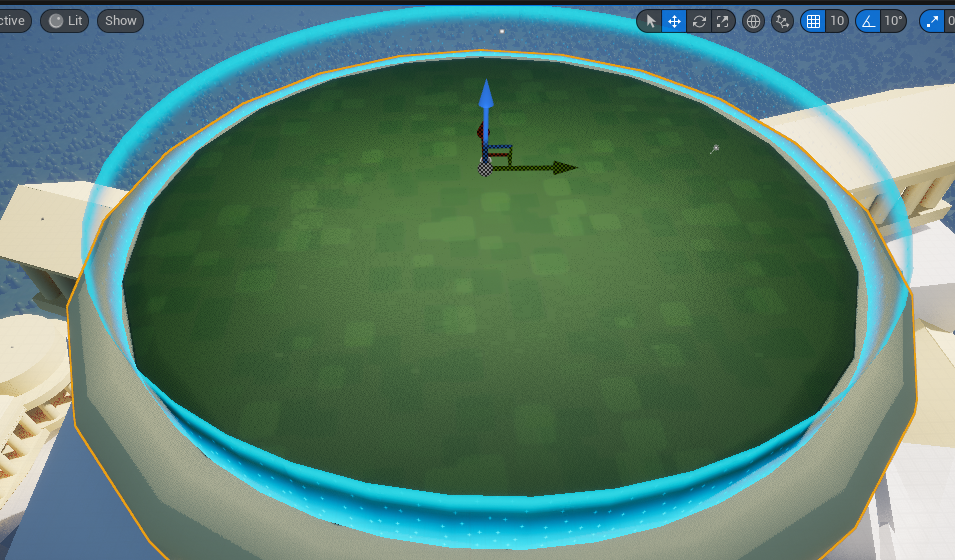
Preliminary Environment
Firstly, our artists created a preliminary environment for testing. This is a big step towards making a fun and aesthetic game! Next step: adding assets into the scene!
Border Barrier Shaders
We worked on prototyping a look for the border barriers outside of the arena. For this, we utilized the material editor in unreal engine and various custom made textures.
Barrier Variant 1 is made out of star-like particles, which are occasionally disturbed by a wave of light.

With Barrier 2 we tried something different, using ancient Greek symbols in the barrier.
With the third barrier variant we went back to the first one again, but augmented it with different color schemes and a pulse that goes through the entire barrier.
Unfortunately, we can't showcase a gif of these here due to the restriction of file size.
Cel Shading Research
We researched some videos and looked at how different games handled their cel shading approach. Then we followed tutorials and engineered myself on prototypes.

This is the first attempt at an own Cel Shader. This shader was very basic, didn't take into account cast shadows, only the deepest ones, and also made them too bright, leading to the scene becoming unreadable. It also disturbed the translucent effects of the barrier which could lead to issues in regards to particle systems.
The second shader however was a lot better already.


This shader not only is improved a lot, but it also features a function, which lets you precisely decide the colors the shadows will be tinted in, and even the lights!

However, in conclusion it's safe to say that we do not want to go with a cel shader. It does not fit to the already determined style of the game. Even though saturated and vibrant surfaces appear even more saturated and vibrant, we don't think this custom shader would be a good fit in this situation.
Rigging Research
This week we also researched how to solve the issue of having arms be separate objects with their own animations, while still being attached to a main body. This is necessary for the scope of our project as the character's arms must be detachable and separately programmable.
We found a possible solution of using blender modifiers and anchor bones. In this example we are telling the root of the arm (using a modifier) to copy the transforms of the anchor bone on the body's rig to create a "base location" to which can be referred to in a script or blueprints as the "default location" to lock back to once punch is completed.
With this in mind, our artist created a test rig in blender to demonstrate the use of anchor bones and modifiers.
HUD Research
For the HUD we started out by creating the general layout. Next we added in the progression bars that will need to be connected to the speed of each player respectively.
For now they can be connected to any blueprint that is placed in the level twice. The next step for these progress bars will be to connect them to the actual players.
Next we created a second HUD to show which buttons on the controllers do what. For now we implemented that when the player presses the <y> button on their controller, the functions show up, and when the player releases the <y>, the HUD disappears again.

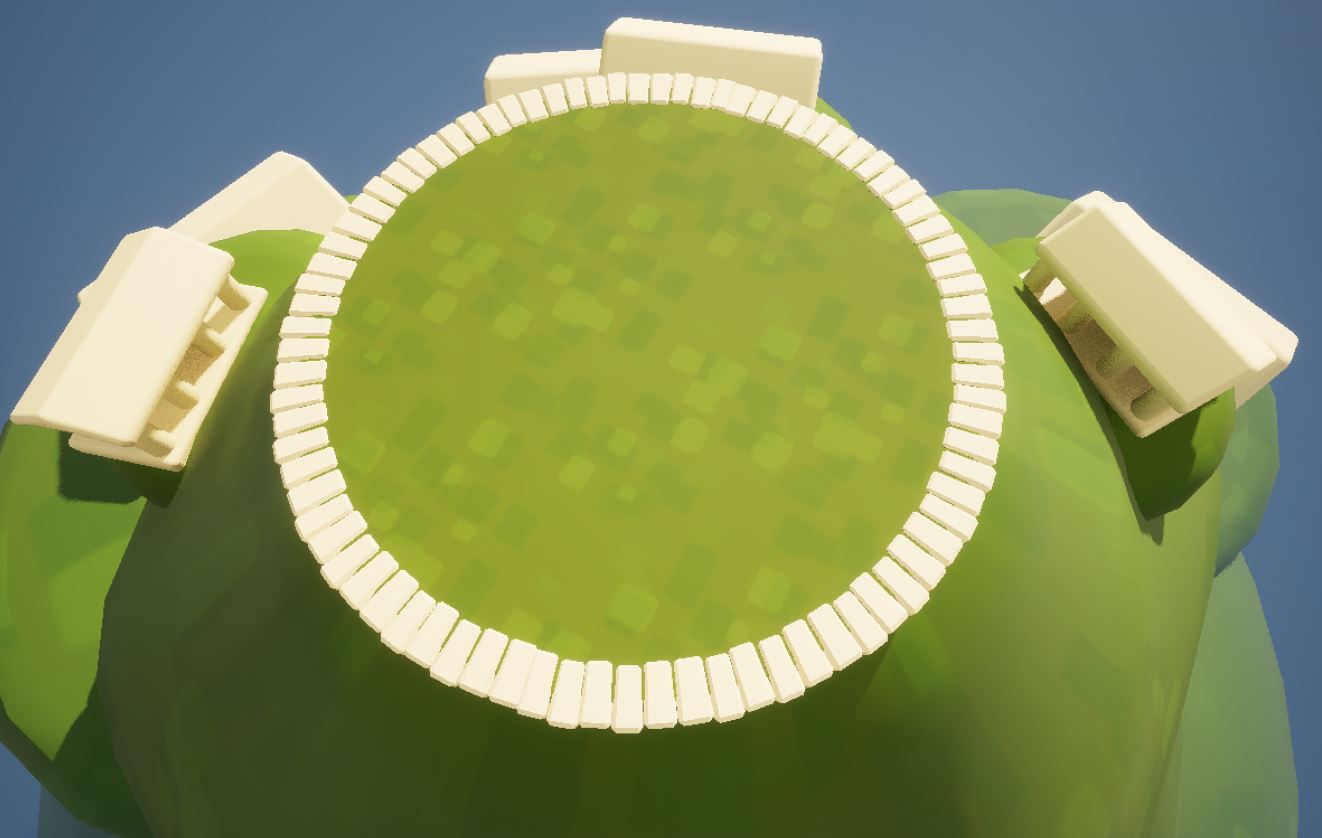
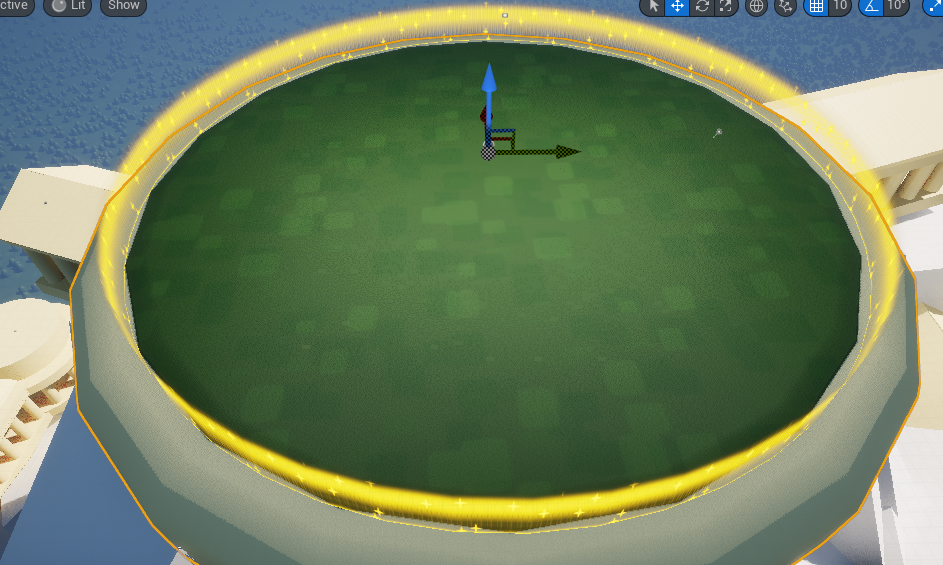
Particle Research
For the game, we will need a lot of particles that get spawned in a specific location. Which is what the next part of our research focusses on. The artists created a particle system to use for testing, showing particles spawned in a circle that ripples outwards.
We then started to research how we can get the particles to spawn in the right position. Since the first particle we made is for when a player hits the barrier around the arena, we started by making a blueprint for the barrier that detects when a player goes out of it. This is already a good start for finding the position of where the particle system needs to be spawned, but it does not give the particle the correct rotation.
To get the rotation right, we did some other tests, where we let the particles spawn on a sphere, using its vertices as spawning location and also for the rotation. The problem with this however, is that with how we set up the detection of the player hitting the barrier we do not use the vertices of the barrier to spawn the particle. So for this we still need to look some more things up, just to get the rotation of the particles right.
Hook Aim
As the game moved along we discovered various issues with the hook/aim mechanic. They were:
- Aim angle was non existing
- To few rays
- when incredibly close, it was still very likely to miss the target.
To fix this several new methods were implemented, of which you can see in the gif below.
Firstly we increased the number of rays from 2 (one for each axis), to 20 each. This meant that now we were far more likely to hit the hooks.
However, by itself, a higher number of rays will have no effect if they are being casted at the same start and end locations as every other one. For this reason, the angle range in which they are casted was increased - from -45 to 45 degrees.
However, the most annoying issue persisted nonetheless: missing target when super close.
There were two techniques that could have been employed here. We could have increased the angle again and perhaps even the distance. However, the concern that the mechanic would become far too easy to use became more apparent. Moreover, the initial issue still persisted. The Solution? Move the starting position of the ray cast. Instead of being cast from its center position, or from just in front of him, the ray casts would be casted from behind the character itself. Example shown in the picture below.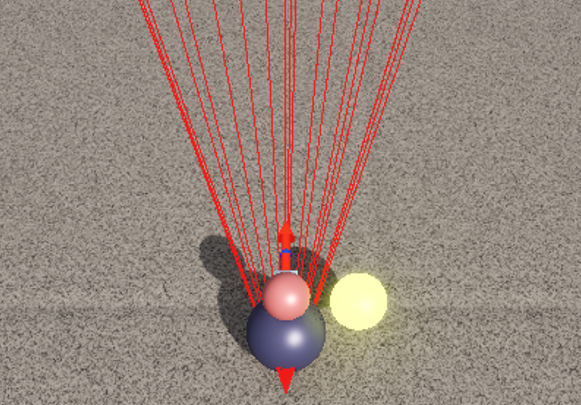
Movement - Constant vs Non-Constant
As with every project, early assumptions about how variables should work may not be the appropriate ones after all. Our project is no different. If there is a mechanic that shows that is undoubtedly the movement mechanic. This crucial game mechanic has been changed, updated, upgraded, reversed, destroyed and brought back multiple times, but not as many as this week. As part of the prototype, and while having a more ‘snappy’ movement as a goal, we shifted the movement from force based to kinematic based. We realized that it was not what we were looking for, even with the goal reached.
That said, we went back to the force based movement and continued the work from there. Thankfully the ‘snappiness’ was achieved, regardless of which movement was being used. Now the concern was between constant and non constant movement.
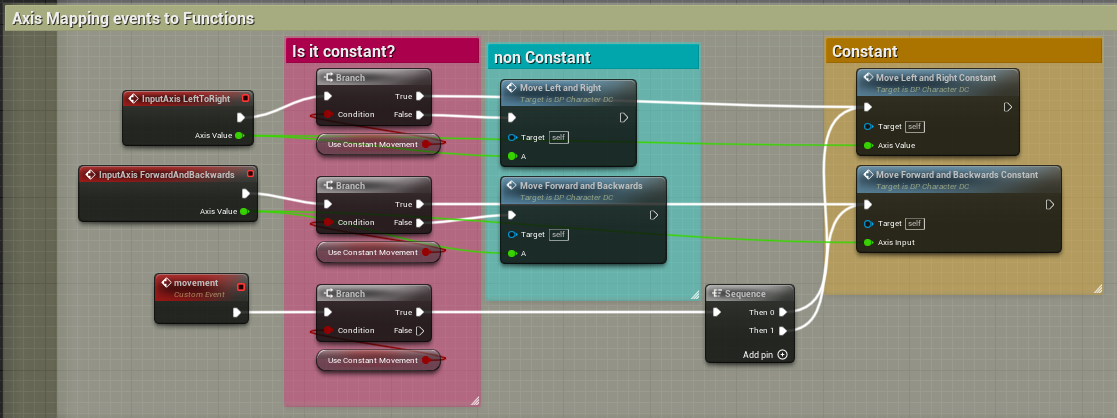
Implemented in the game is a variable that allows the player to switch between constant movement and non constant movement. This variable can be editable in game play and allows for new strategies and methods to be discovered by the player when moving around the map.
Player Stages
With an Enum Class stages were created for the character. As of this moment there are three and they dictate pretty much the variables of the character behavior in the game.
These stages so far are responsible for:
- Punch Speed
- Punch Force
- Material Usage
- Max Speed
- Acceleration (in progress)
- more to be added on later….
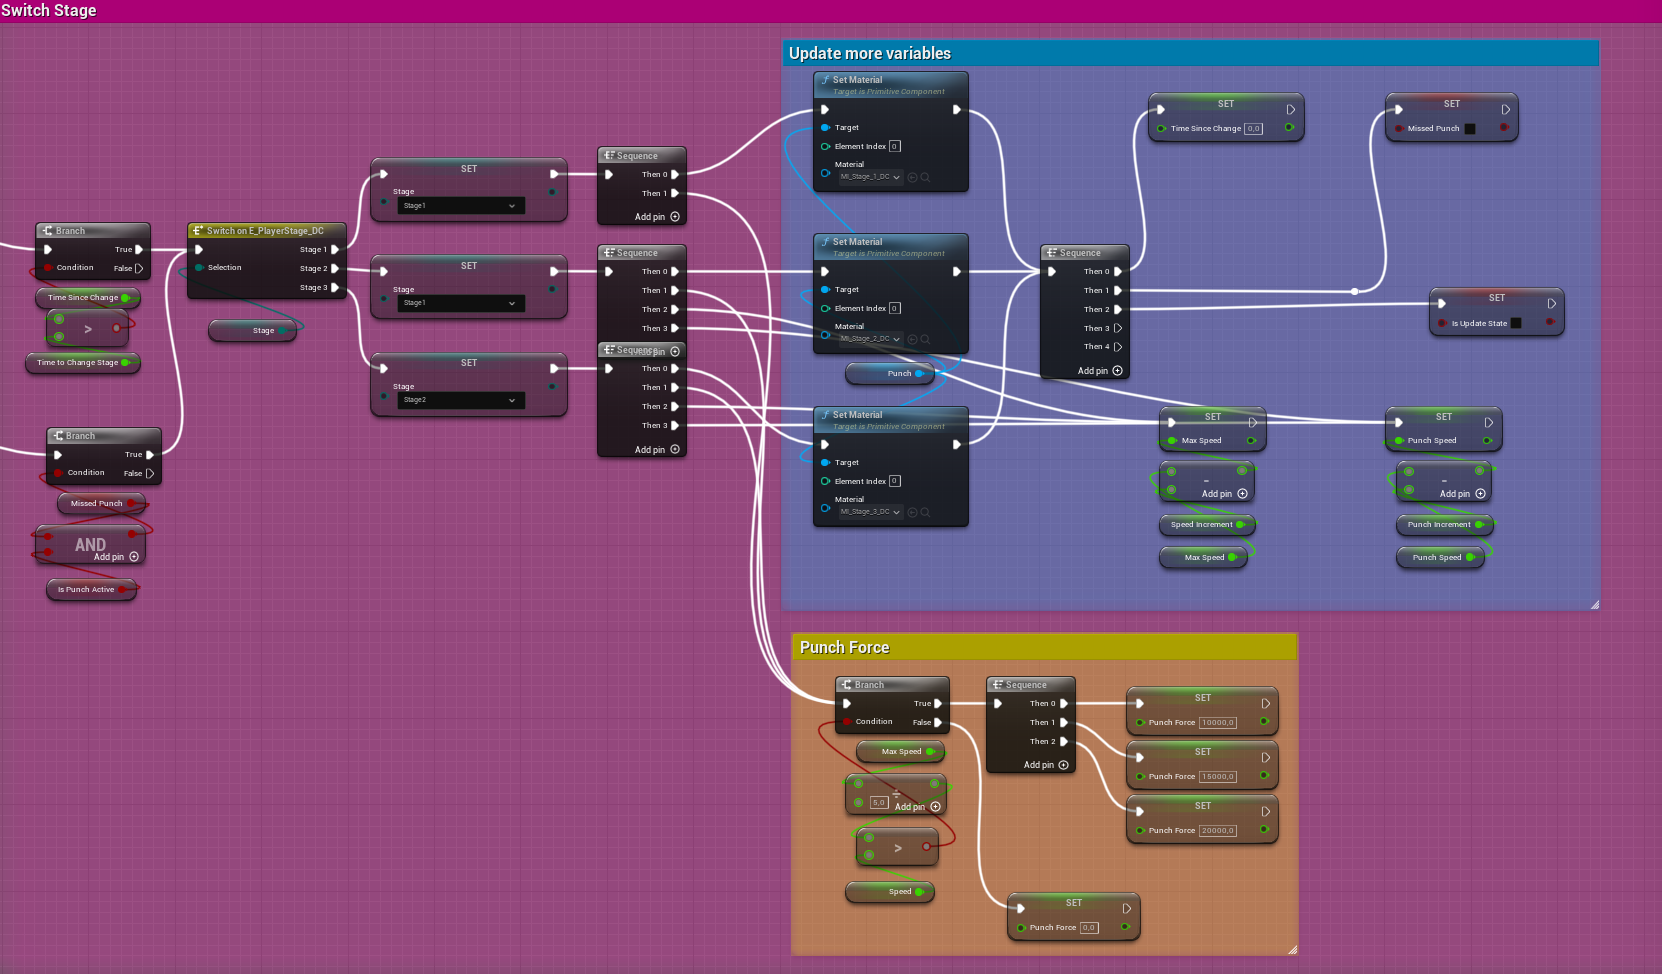
How does it work?
- There are a total of three stages. The third being the top one, with the highest regards, and 1 being the lowest.
- Each stage has a countdown of 10 seconds that will begin whenever the character levels up one stage. at the end of those 10 seconds, the stage will drop, or, if he in the meantime was able to upgrade again it resets.
- The character can also power down by missing a punch, punishing the player for spamming the punch button if he chooses to do so.
- At every increase in stage or decrease the max speed of the character increments or decreases respectfully by a factor of 750, which is a float representing the length of the velocity vector.
- The punch force will be determined by the current Speed and the max Speed.
- Trying to punish players who camp waiting for the enemy. If the current Speed is less than ⅕ of the max Speed, then punch force will always be equal to 0;
- For debugging purposes, the material changes as the stage changes too.
All these mechanics have been implemented so far

PLayer Attack Interaction + Respawn + Stunned State
Players can now attack each other!
- A big change in mechanic choice from last week is that the punch becomes more powerful the closer u are to each other not vice versa
- When you punch your opponent a stunned state is activated where they can no longer use their input for a certain period of time
- Falling of the plateau causes u to respawn to a randomly chosen player start actor, I had a hard time implementing it because of the way i setup my player spawn. I tried uactually destroying the objects, but that did not workout. So I found a work around where i set the visibilty of the player to false and then when a certain depth is reached i teleport them back to the randomly chosen places.
- I also polished the camera to work for the new movement system
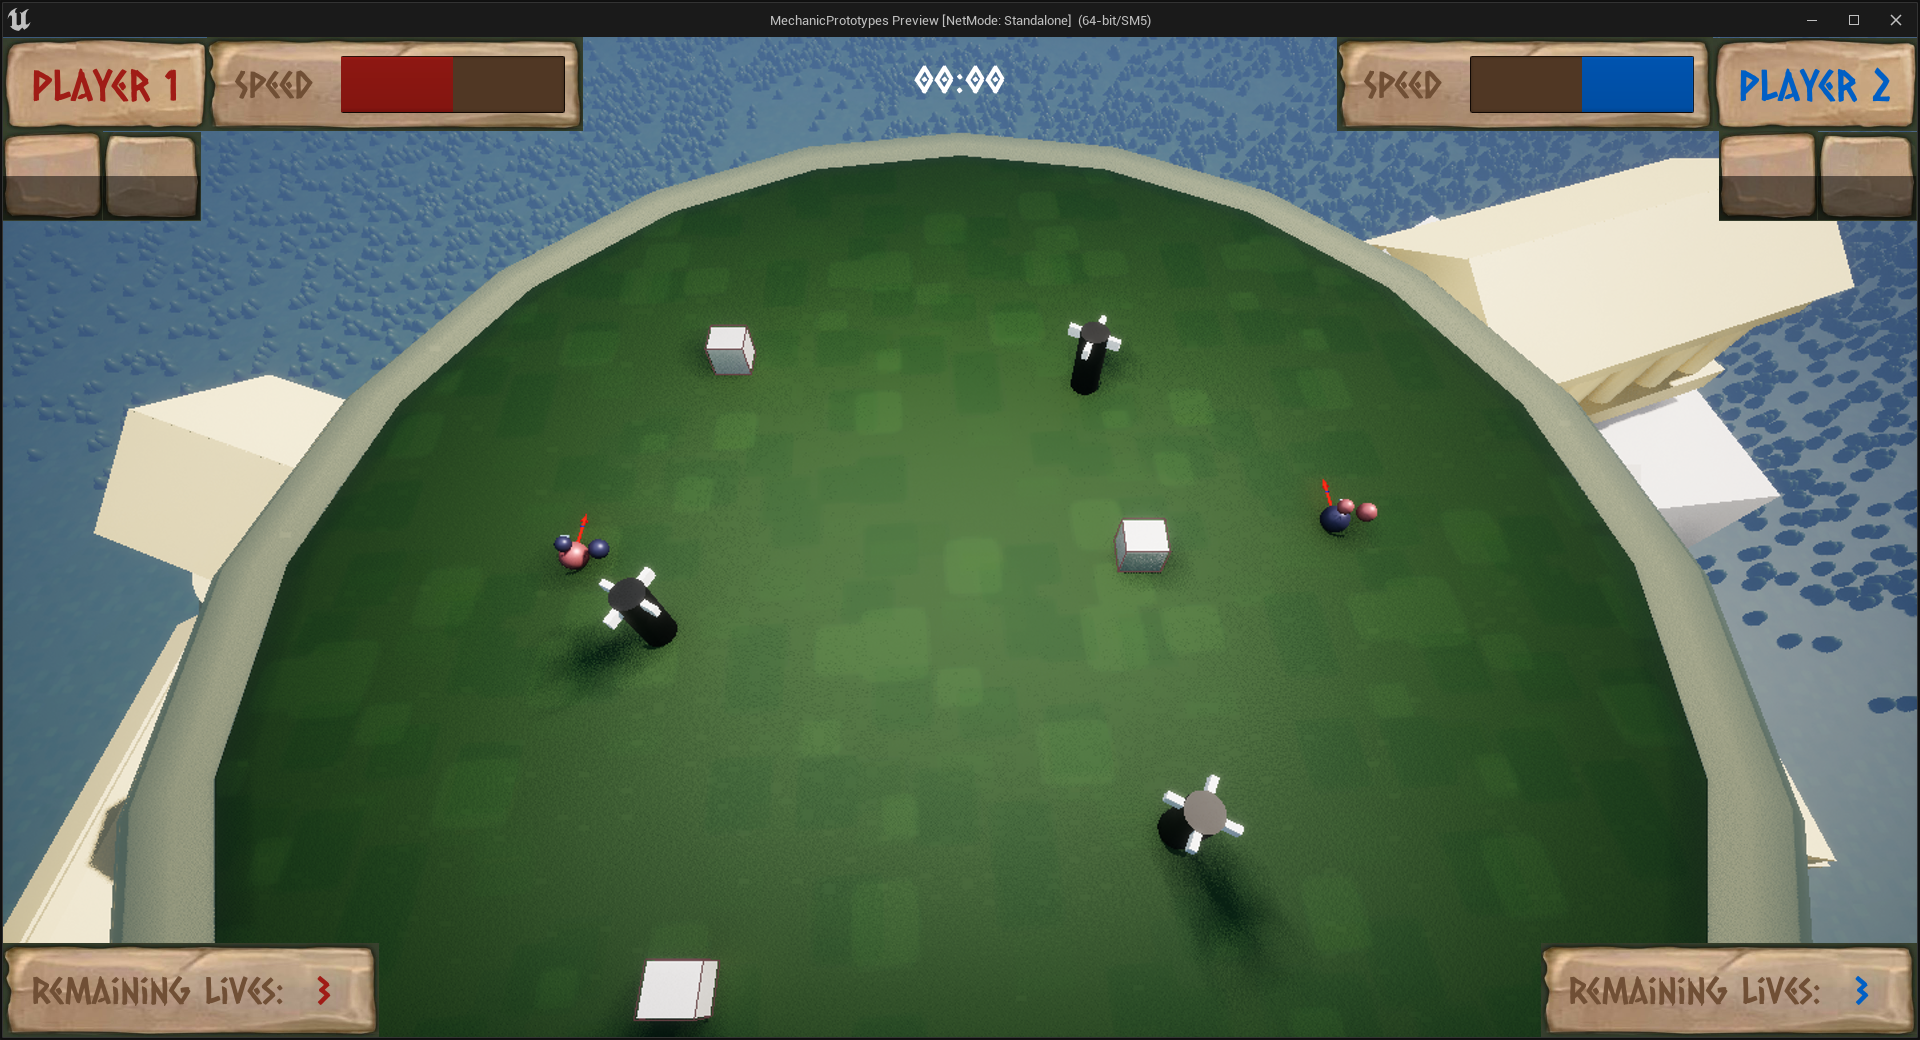
Full Dual Controler Support + Consistent Player Spawn
You can now play against each other with controller!
- Together with a consistently working player spawn, I added local players that spawn in player controllers. Then when the players are spawned in make sure the controller with the right index posses one of the players
- Before i spawn in both players I make a distinction between the two by coloring one of the players with inverse colors.
- Lastely I added my work together with my co-worker to create a newly formed and working character that fits our needs
Leave a comment
Log in with itch.io to leave a comment.